
Have you ever struggled to get your phone camera photos to look exactly how you want? Are you starting a small business and need help taking pictures of your product via your iPhone? Tonight I am sharing five quick tips to help improve your camera pictures and help them be Instagram ready!
Use Natural Light:
To achieve the light/airy/bright look behind your images, try keeping your subject in the natural light. When I take a “stylized” shot for my Instagram I use the biggest window in the room to style my objects in front of. I also use a white foam board to set my objects on that helps bounce the bright white light onto the subject.
Your camera on your phone cannot provide the right amount of flash to make your subject look super flattering. So if possible, try taking your subject to natural light so your phone camera doesn’t have to work too hard.
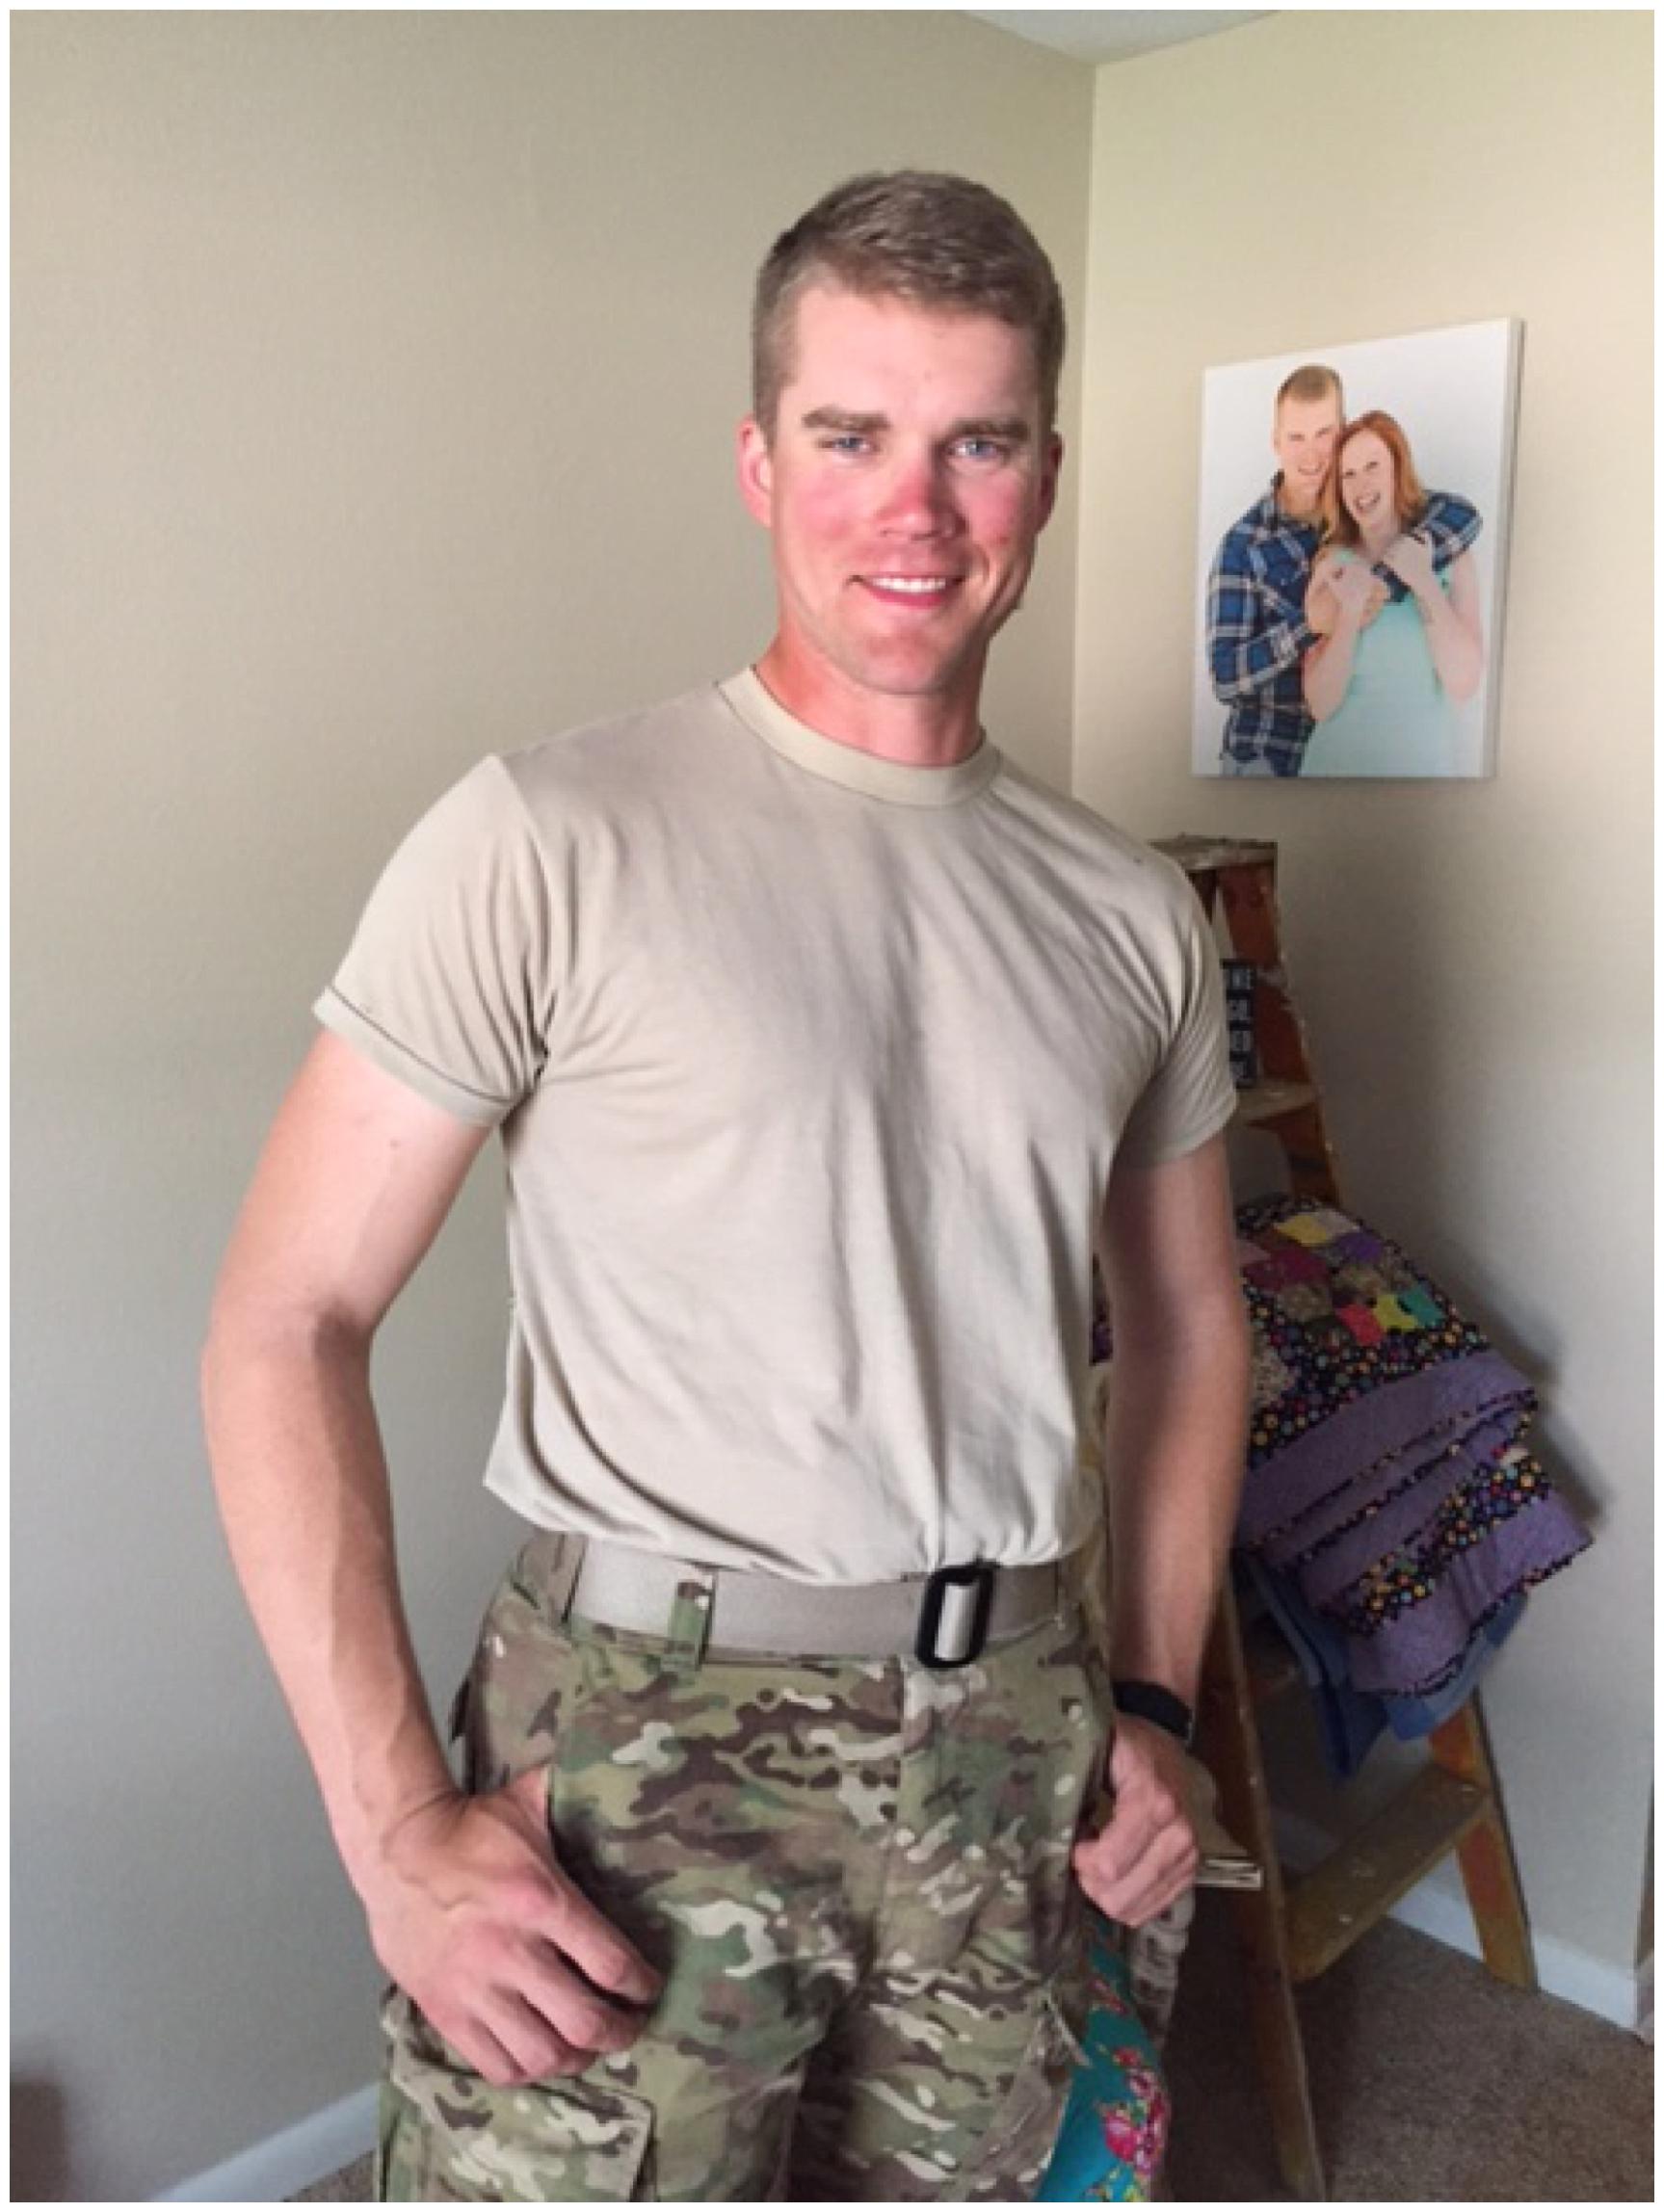
Here is my husband, Evan, modeling for me inside our kitchen where there is not very much natural light:

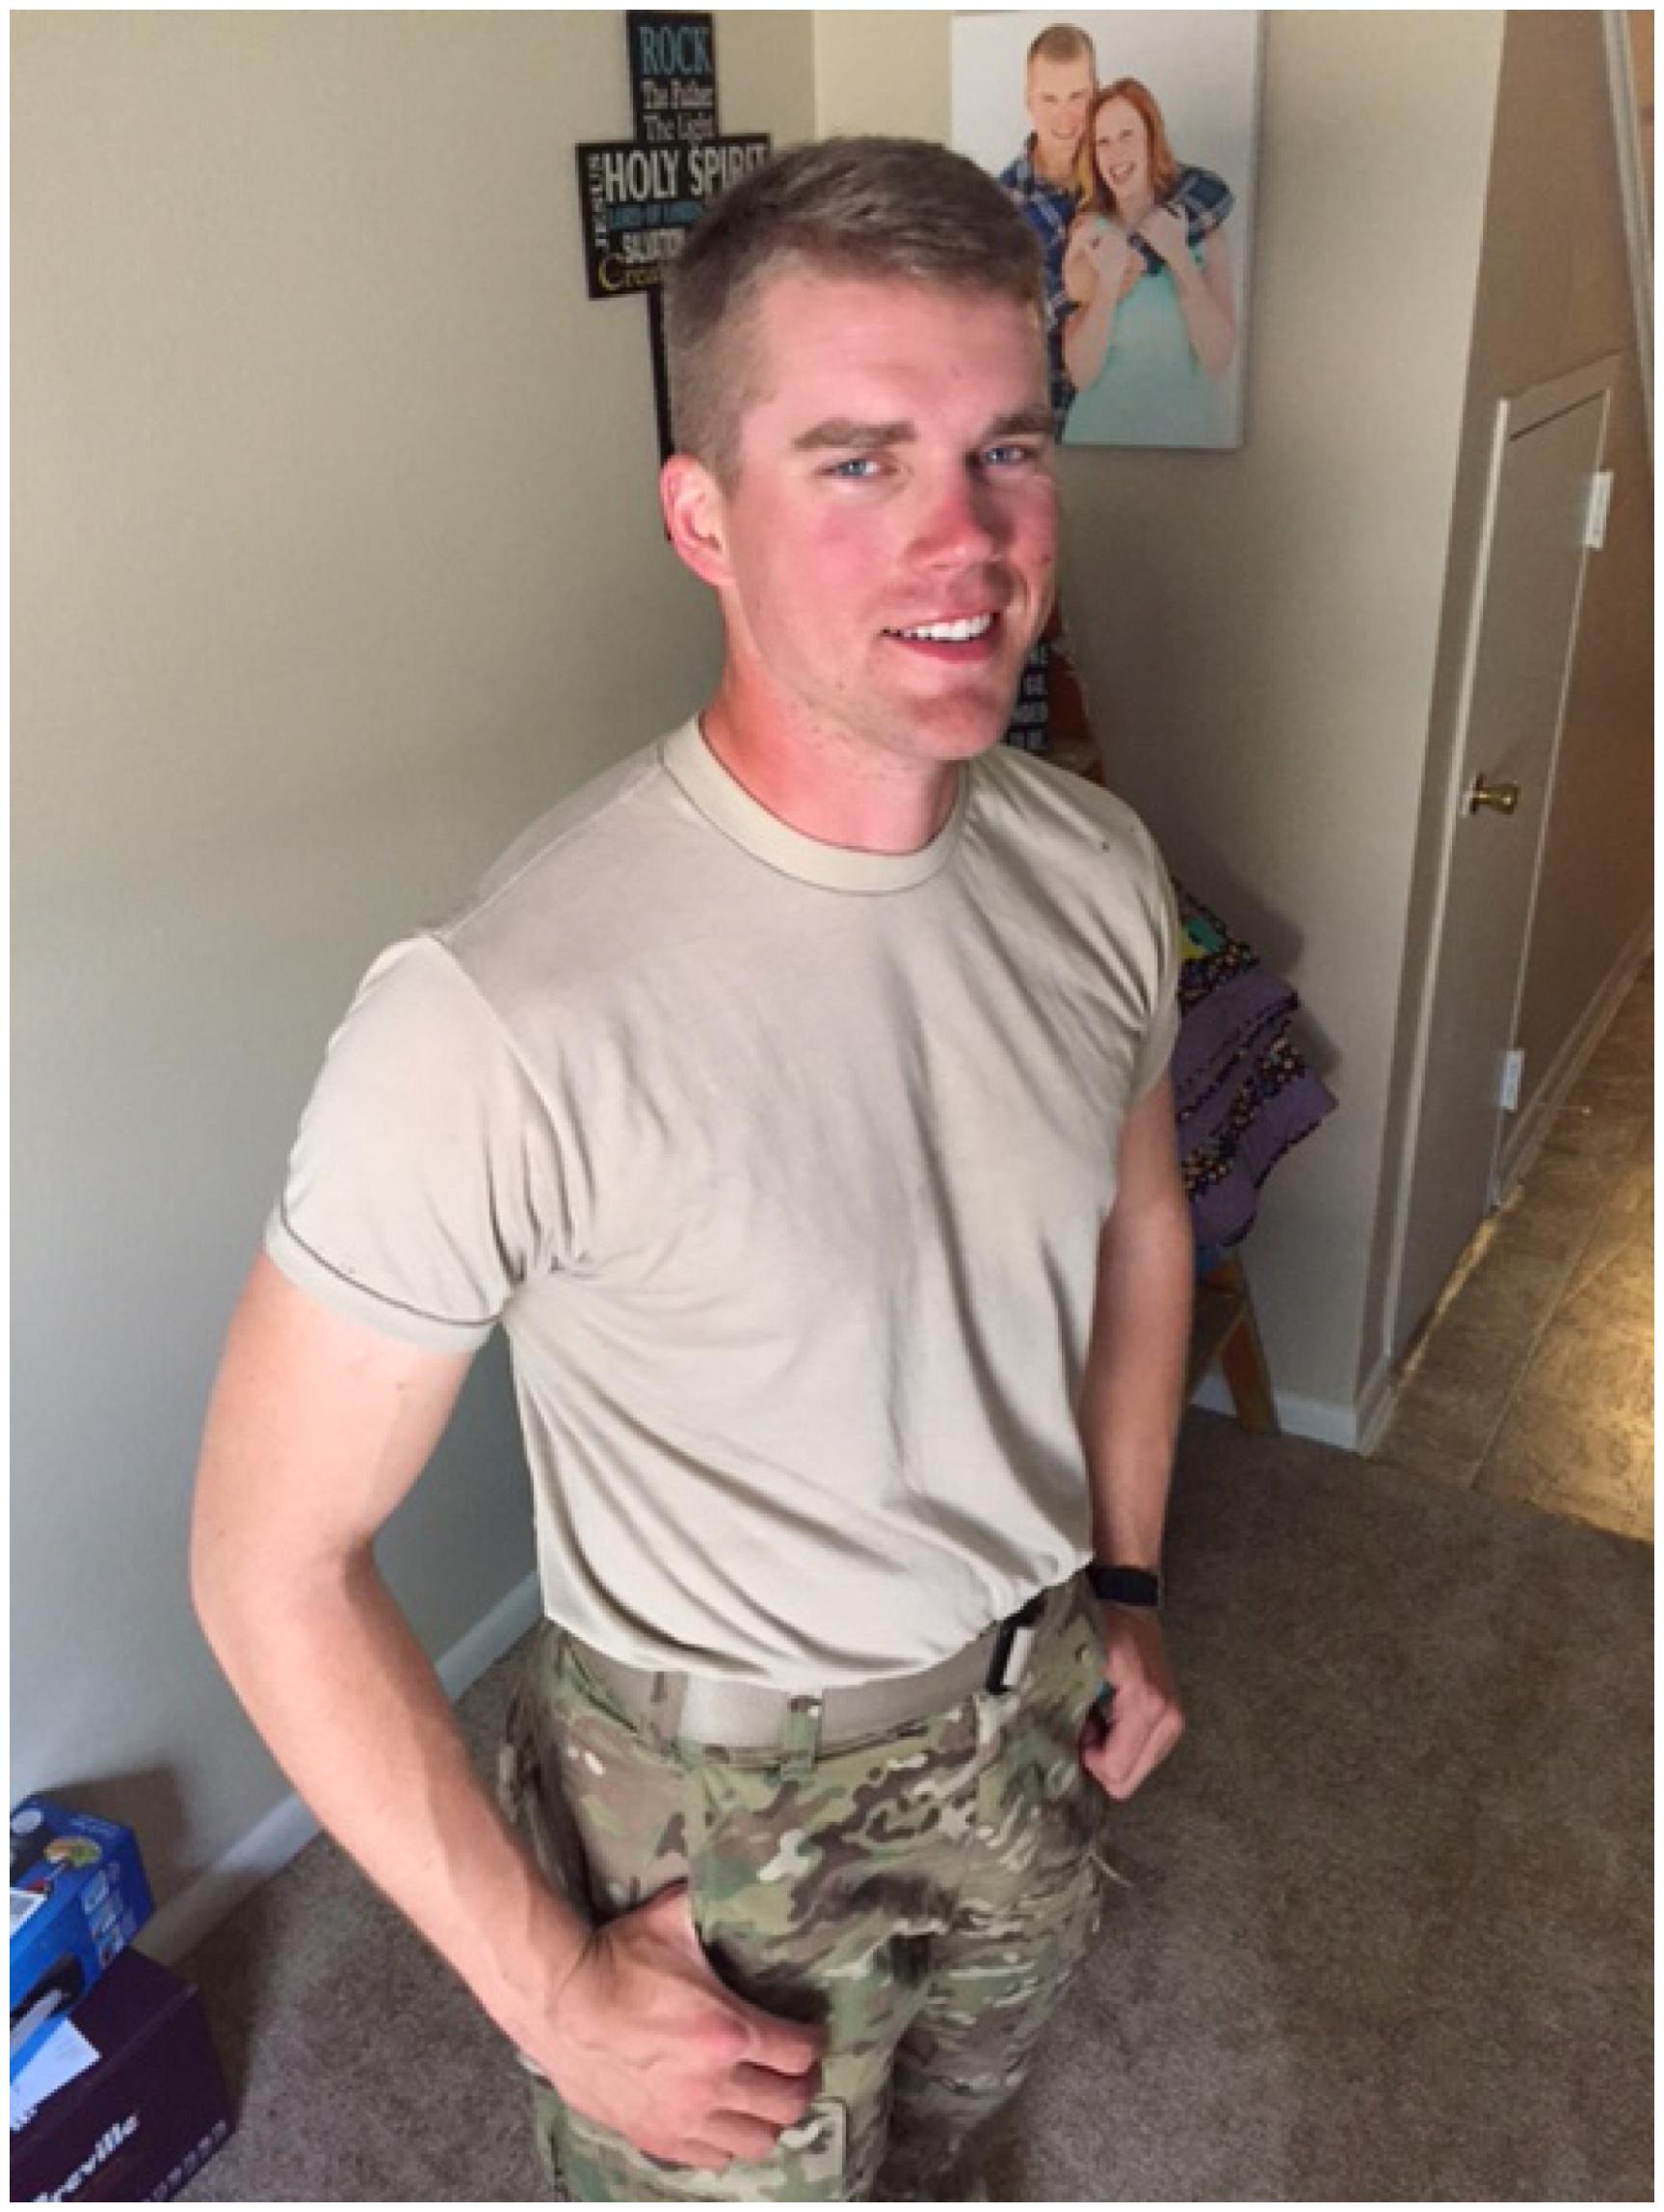
Now compare to this image of Evan in the next room, our living room, where the natural light is a lot better!:

Which does your eye like better?!
Shoot at a downward angle:
If you want to take more flattering photos on your camera, angle your camera downward on your subject.
Here is an example of what it looks like when I take a photo straight on:

and here is an example of what it looks like when I take a phone at a downward angle (please remember my sweet, Evan was not overly thrilled to be my model….hahaha):

So the next time you grab your phone to snag a picture of your husband/bestfriend/child/random person, take the picture at a downward angle to provide a flattering photo of them!
Keep it simple:
The saying “Less is More” is definitely important when you are looking for a clean, non-distracting image! If you can take a walk to a different part of the location you are hoping to take a photo of, where there are no other tourists/people/buildings, it will look a lot cleaner.
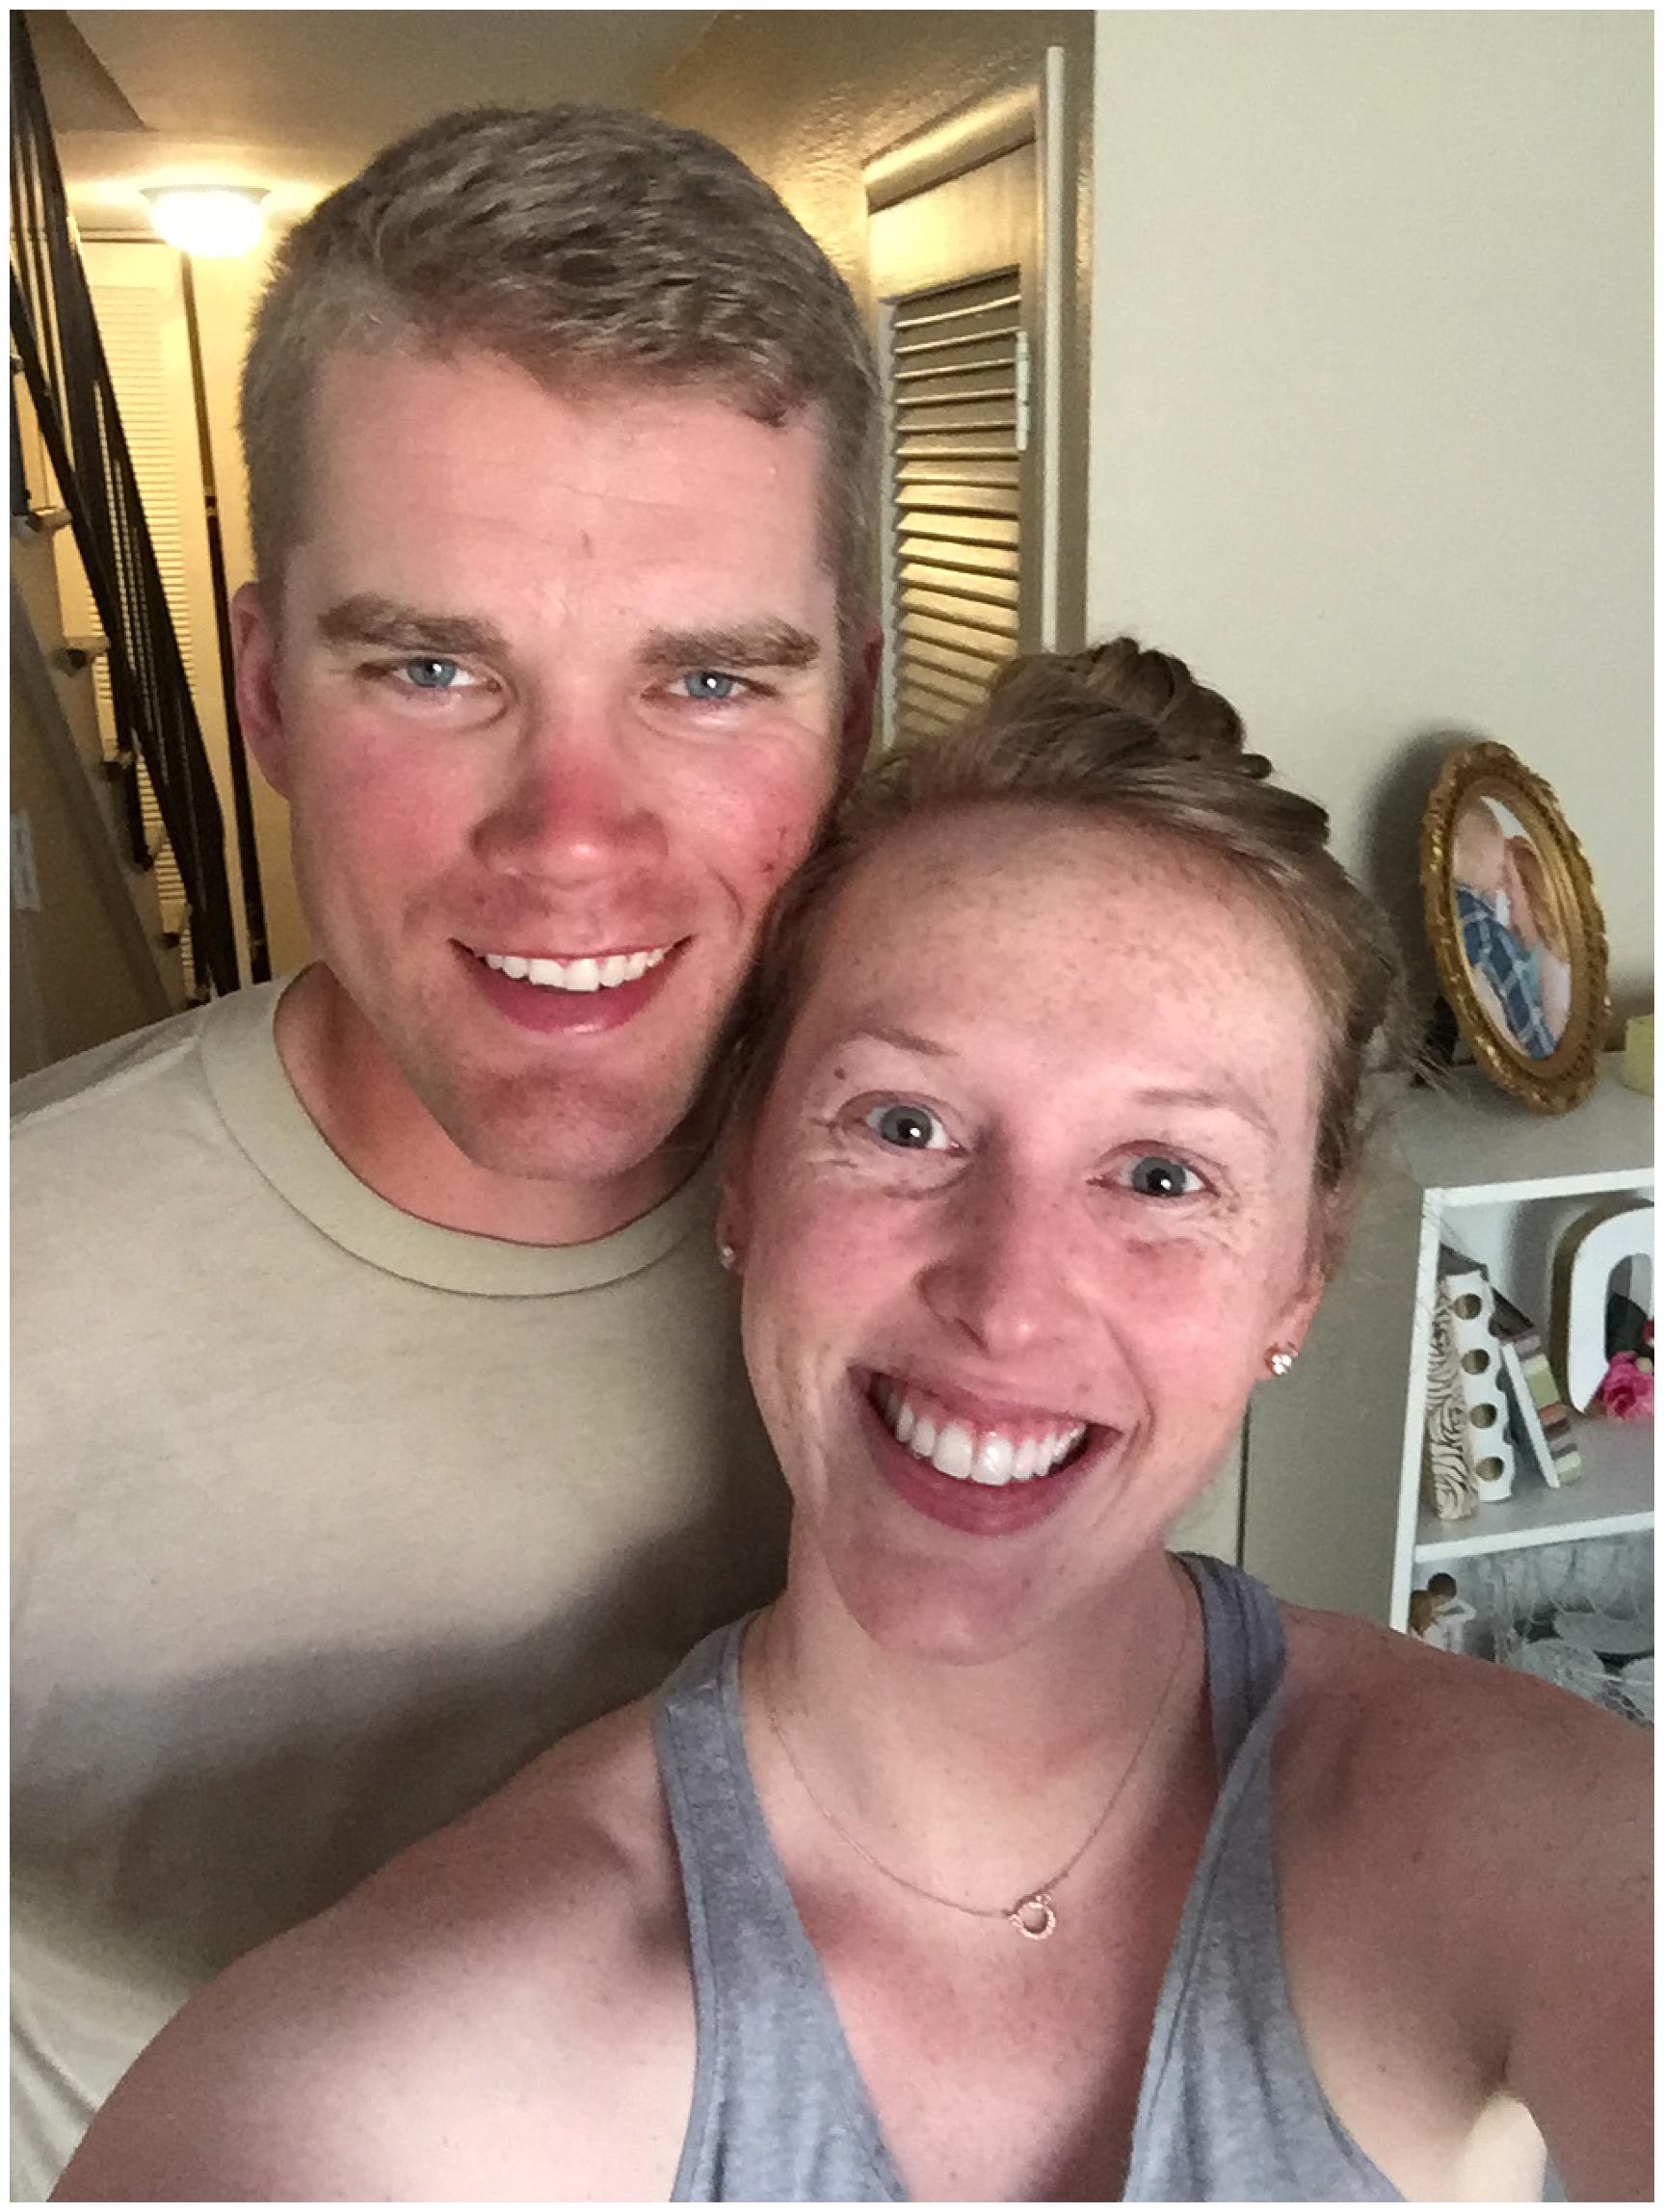
So you can see an example, here is a selfie of Evan and I today in our living room:

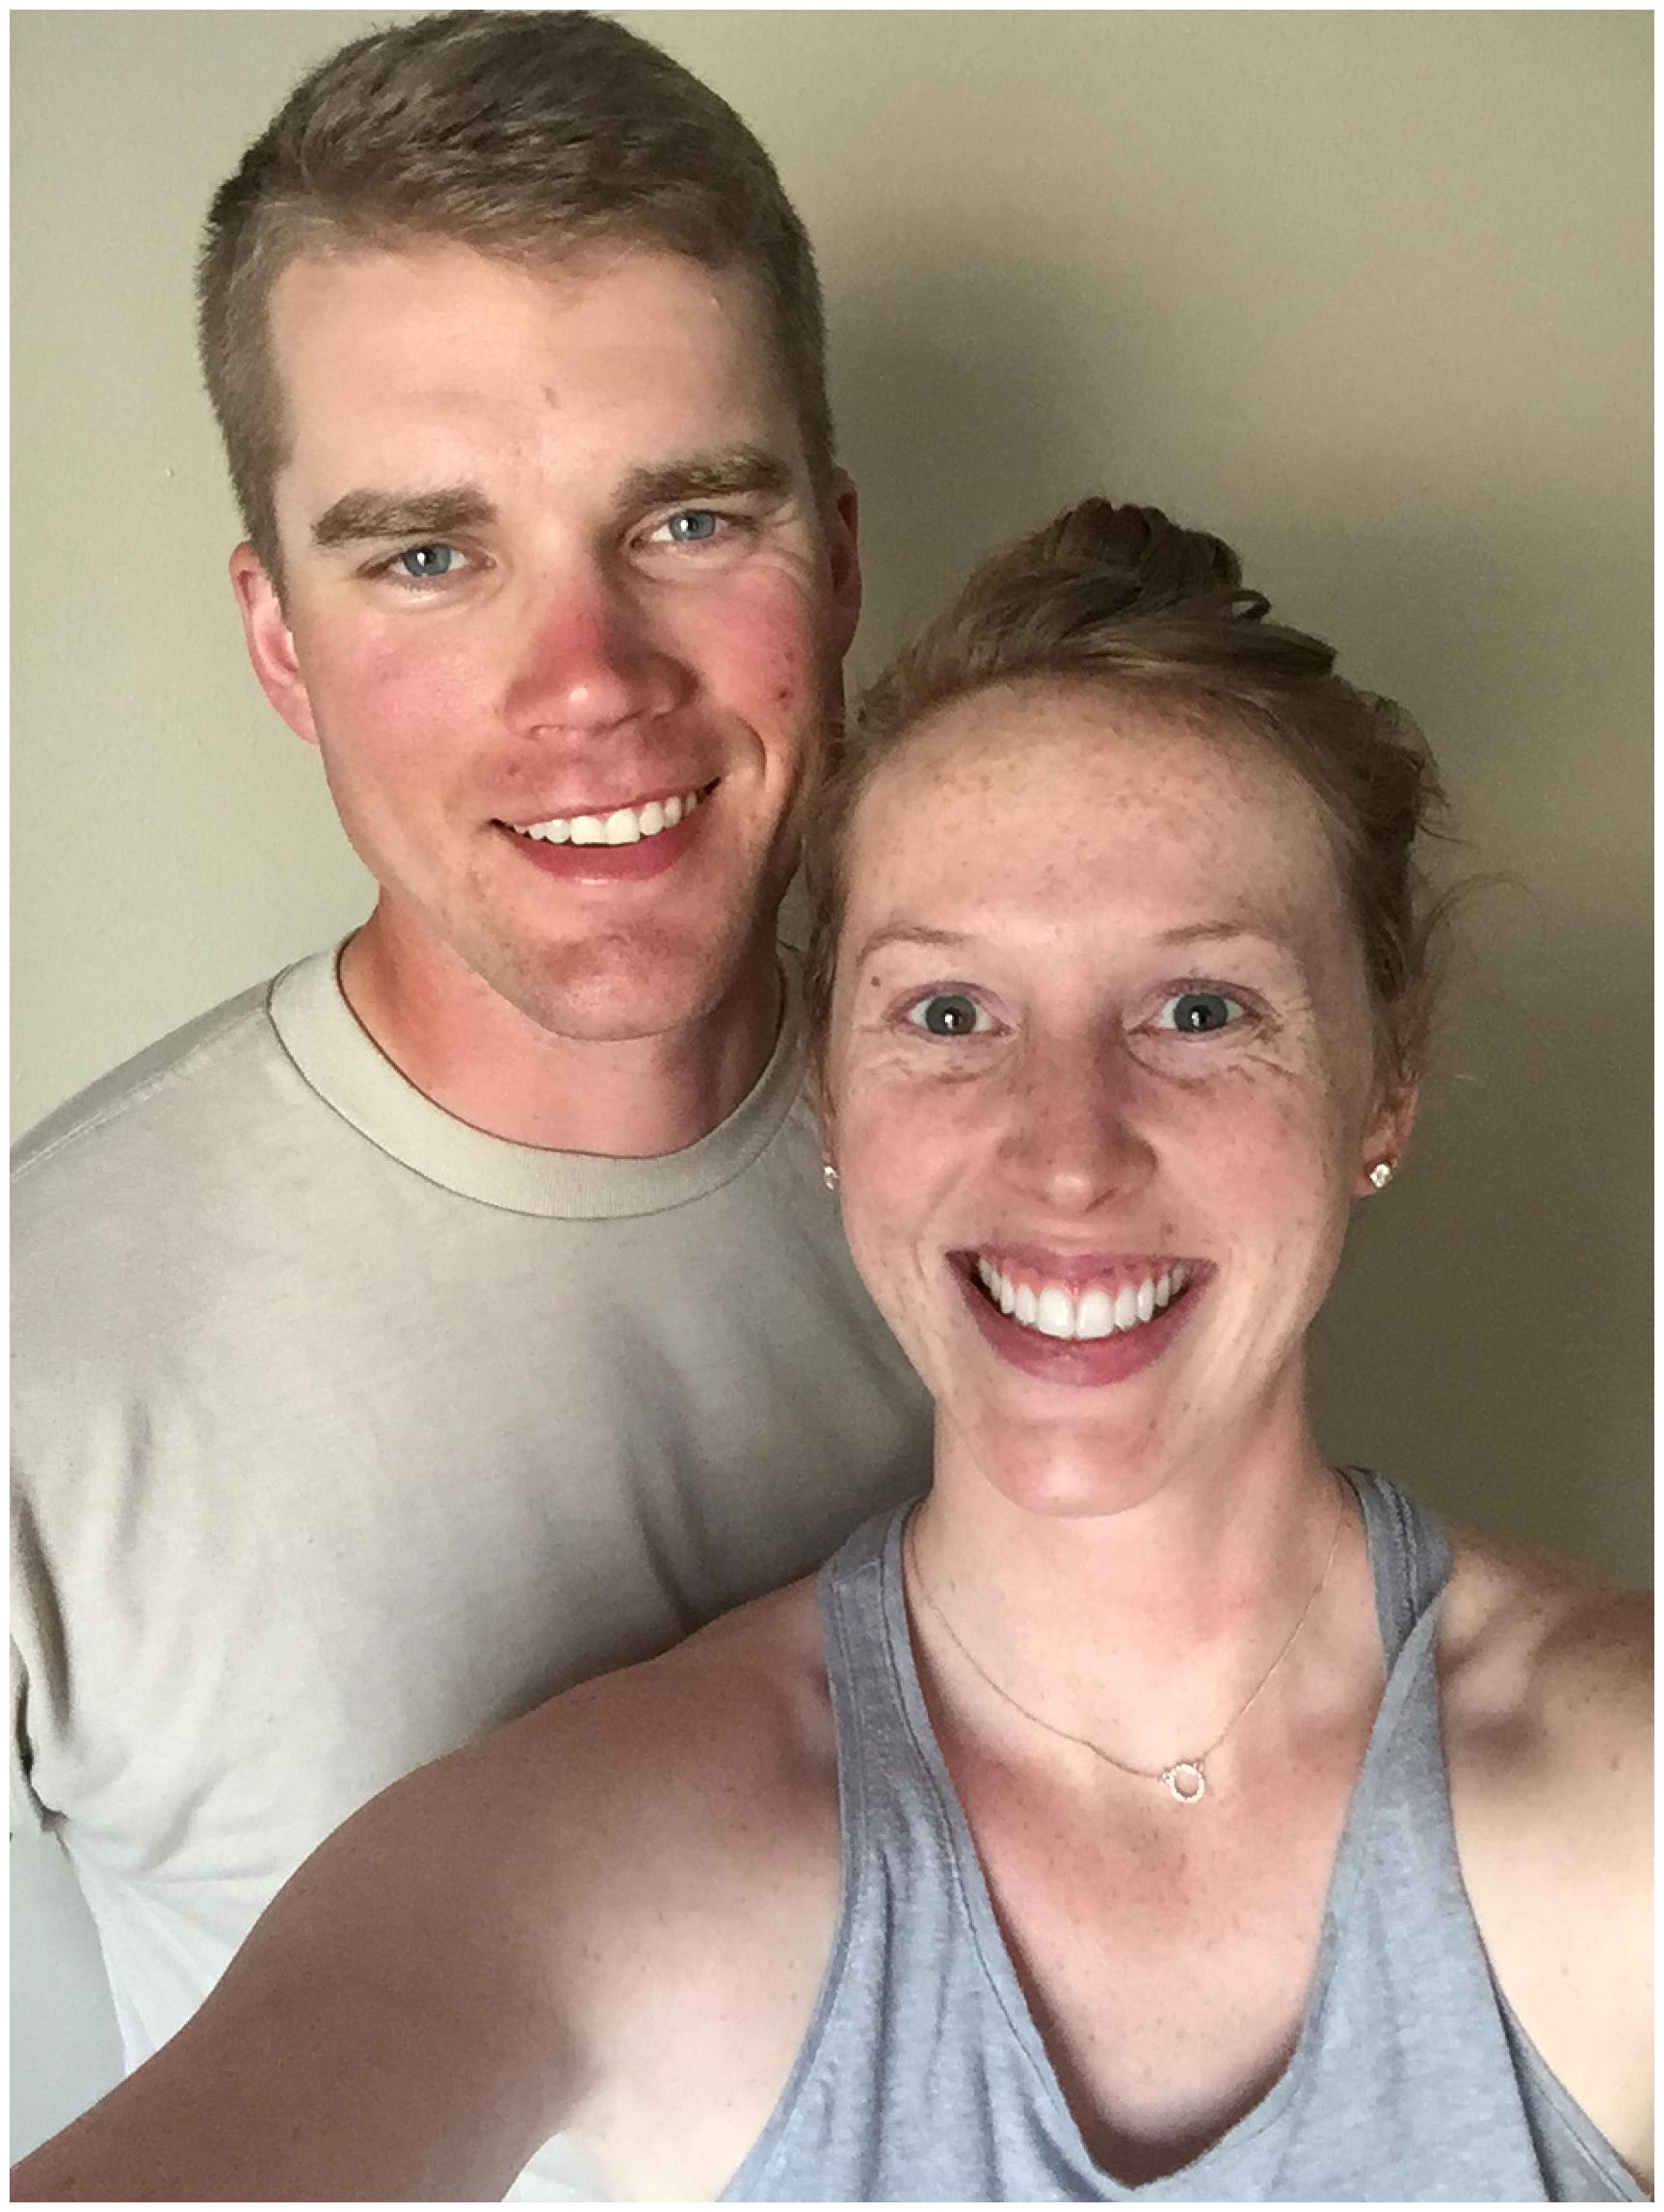
Now compare to this selfie taken just seconds later, also in our living room, but with about a 90 degree turn and with a cleaner, more simple background:

We achieved the same product of photo, but the background is less distracting and helps keep the focus on our super adorable faces 😉
Edit your photos:
Your phone can take some pretty great images right out of camera, but with a little help of the photo editing apps it will help achieve the look you are going for.
Sometimes, I just edit the images using the editing program designed in my iPhone. My tip for editing in this program is to use the three bar tab that comes up when you click on Light, Color or B&W. This will give you options for specific alterations such as brightness, contract and shadows!
I also use Snapseed to help adjust my camera photos. I like this program because it is simple to use and gives me a lot of options to edit my photos more specifically than just brightening!
Here is one image: the one of the left has not been edited & the one on the right was edited with Snapseed.

Now, there is nothing wrong with the left photos, I personally like a little brighter photo & to see the whites of my husbands’ eyes….especially when he is covered in that much…stuff… 😀
Shoot for you:
I just want to iterate that these are your memories & your photographs!! Document all your moments because capturing them is more important than making them “pretty”!! But if you are out and about and want to share a special moment and have a second to stylize it, your photo album later will look so professional! But nobody’s opinion but your own really counts – so if you love it – share it!
XO,
Mary
If you LOVE what you see, you might also LOVE:
Tip for A Tuesday | You’re Engaged! Now What?