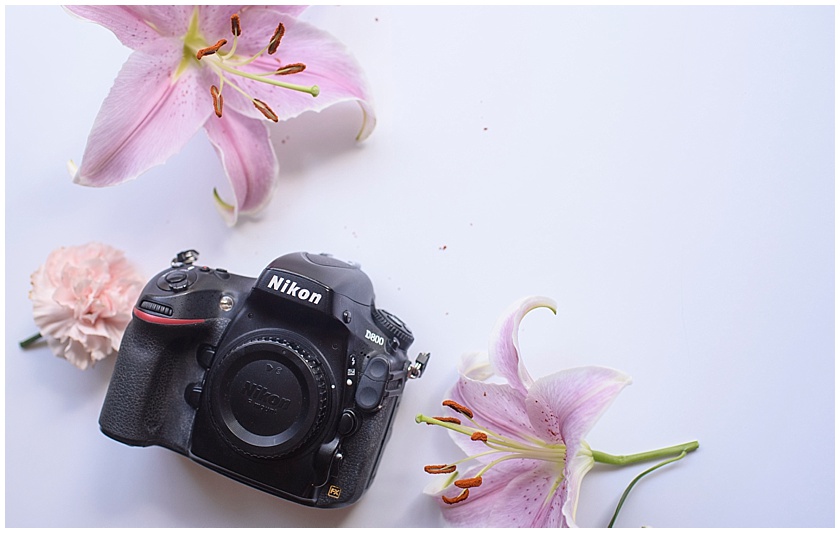
The most frequently asked question I get is how to actually use your fancy new DLSR camera in manual mode! If you are like me and are a visual learner, let’s chat about setting up a video mentoring session or we can meet up and I can actually show you how to work that magic! Just contact me right HERE! 😀
But for those of you that just want to learn the old fashion way (is reading really considered the old fashion way?) here are a few basics to help you switch your DSLR camera into manual mode & start capturing even better pictures!
____________________________________________________
First off your camera should have a dial or a screen on the top with many different settings. Some cameras will have more than others, but you will want to make sure that you are in Manual mode or “M”.
There are then three main things you will need to think about when photographing in manual mode. It is often referred to as the exposure triangle and is made up of your ISO, Aperture, and shutter speed!
All three of these things work together to determine the exposure of a photograph! You must be able to have them balance in order to achieve a properly exposed photograph! When you adjust one, typically you must adjust one or both of the others.
Let’s start with Aperture…
Basically aperture refers to how open or closed your lens’ sensor is. A lower aperture, or usually referred to as a lower f-stop, means that your lens will let MORE light into your sensor. A higher aperture, or higher f-stop, means less light will be reaching your sensor.
Aperture also affects your depth of field. A lower aperture creates a narrow depth of field aka a blurry background and a higher aperture means you will have a bigger depth of field and more background will be in focus.
For example: When I photograph high school seniors I photograph them at a lower aperture to get the background really blurry and create pretty bokeh! But during a senior session if I need to photograph them with a horse in the distance, I must raise my aperture to a larger number so both my senior and the horse can be in focus.
Next let’s address Shutter Speed:
This is just how long the shutter on your camera remains open, which means how much light is being let into your sensor. Faster shutter speeds only allow a small amount of light to reach the sensor, so the result is a lower exposure. Slower shutter speeds are open longer, which allows more light into the sensor creating a higher exposure.
As long as the shutter is open, the camera will be recording what is in the frame. For fast moving subjects, such as your children or sports, you would want your shutter speed to close quickly to capture the movement fully! If you left the shutter speed open, you would create blur because your subject would move often while the shutter is open.
If you are not getting sharp images and your subjects look blurry, your shutter speed might be the culprit.
Finally let’s talk about ISO:
ISO measures the sensitivity of your sensor or how much grain your image will have. That is how I like to think of ISO. Increasing your ISO allows you to work when you have less light in the room, but using an increased ISO will increase the amount of grain or noise (or detail) in your photo. With a smaller ISO there is significantly lower noise to the photo.
I am stealing this great reference from fstoppers to explain noise…they say:
“Think of the image signal and noise as a pit of balls. If my image signal is 1000 balls, I wont notice if noise adds 4 or 5 balls to the bunch. If my image signal is small though, say 10 balls, it will be very noticeable if noise adds 5 balls to the bunch.”
If you are curious when you would use a high ISO, it would be in situations with low light, or when your aperture is as wide as it can go and you’re already at the lowest shutter speed possible. I use it a lot at wedding receptions because my camera has an impeccable ability to have a high ISO with little grain!
So once you understand these three things you can start to understand how they may work together to help create your image! This is how I personally assess a potential image and how I usually choose what settings I might use!
I first pick my aperture (f-stop). If I am photographing people I usually keep it as wide as possible, because that is my personal preference. Once I set that I will adjust my ISO. If I am outside in bright harsh light I keep my ISO as low as possible because I know I do not need any more light. The last thing I adjust is my shutter speed, I adjust it according to the amount of light I need in the photo! So I raise the shutter speed if my photo is too bright, and lower it if is too dark.
If my image is STILL to dark after trying to adjust just the shutter speed I would the raise my ISO a few notches to let more light into the camera!
It is a back and forth game until you achieve the light you are hoping for in your image!
Understanding the exposure triangle will help you dramatically when transitioning to photographing in manual mode! There are a few other things to take into account, but let’s save those for another day! 😀
XO,
Mary

If you LOVED this post, you might also LOVE:
Tip for a Tuesday | For Beginner Photographers